

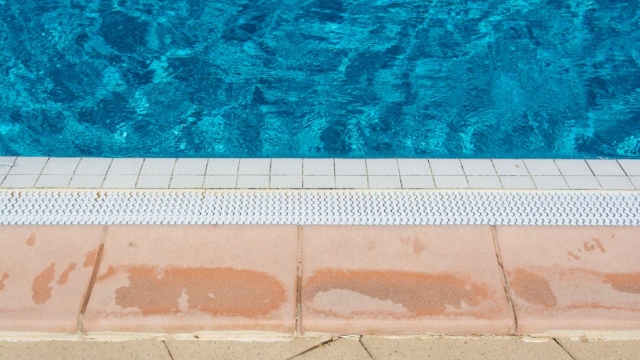
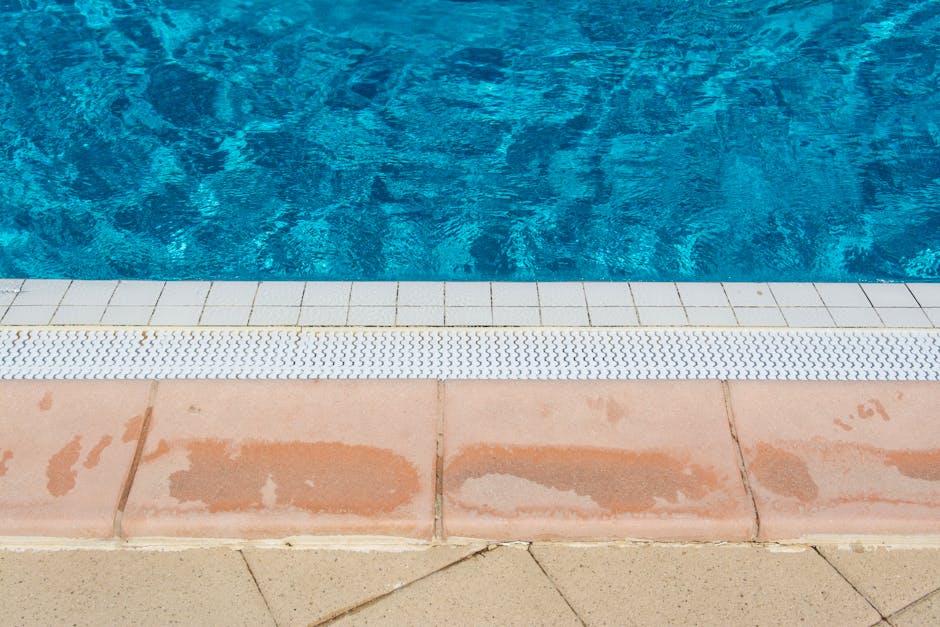
When it comes to enhancing the aesthetics and safety of your swimming pool, pool tiles play a crucial role. They not only add visual appeal but also provide a non-slip surface, making your pool safer for swimmers. Understanding the nuances of pool tile installation can help you make informed decisions about your pool renovation or construction project. This guide will explore the different types of pool tiles, the installation process, and how to choose the right professional for the job.
Understanding Different Types of Pool Tiles
Pool tiles come in various materials, each offering unique benefits and drawbacks. Here’s a breakdown of the most common types:
| Tile Type | Pros | Cons |
|---|---|---|
| Ceramic | Durable, easy to clean | Can be slippery when wet |
| Glass | Beautiful, reflects light | More expensive, can be fragile |
| Stone | Natural look, provides grip | Requires sealing, heavier |
| Mosaic | Customizable designs, versatile | Time-consuming to install |
The Pool Tile Installation Process
Installing pool tiles is a meticulous process that requires careful planning and execution. Here are the key steps involved in pool tile installation:
- Preparation: Start by draining the pool and cleaning the surface thoroughly. Any existing tiles or debris must be removed to ensure proper adhesion.
- Layout: Before applying adhesive, lay out the tiles to visualize the design and make any necessary adjustments. This is also the time to consider patterns or color combinations.
- Adhesive Application: Use a high-quality adhesive specifically designed for pool environments. Apply the adhesive evenly on the substrate to prevent air pockets.
- Tile Placement: Begin placing the tiles, starting from the bottom and working your way up. Use spacers to maintain consistent grout lines.
- Grouting: Once the tiles are set, apply grout to fill the spaces between them. This step is essential for water resistance and overall finish.
- Sealing: Depending on the tile material, sealing may be necessary to protect against moisture and staining.
- Finishing Touches: Clean any excess grout and ensure the edges are neat. Allow adequate time for the tiles and grout to cure before refilling the pool.
Choosing the Right Professional for Pool Tile Installation
Finding a qualified professional for pool tile installation can make a significant difference in the outcome of your project. Here are some tips on how to choose the right contractor:
- Experience: Look for a contractor with a solid background in pool tile installation. Ask for references or examples of previous work.
- Licensing and Insurance: Ensure that the contractor is properly licensed and insured. This protects you from potential liabilities during the project.
- Estimates: Request detailed estimates from multiple contractors. This will help you compare costs and services offered.
- Questions to Ask: Inquire about their installation process, materials used, and warranty options. Clear communication is essential for a successful project.
- Reviews and Ratings: Check online reviews and ratings to gauge the contractor’s reputation in the community.
In conclusion, pool tile installation is an investment that not only enhances the beauty of your pool but also contributes to safety and durability. By understanding the types of tiles available, the installation process, and how to select a qualified professional, you can ensure a successful project that meets your needs. Explore your options and make your dream pool a reality.